Monday, July 16, 2012

Boiling Bee Boxes

Bought a bunch of bee stuff from a guy who tended bees with his dad years ago.  Got the stuff relatively cheap but it was in need of some serious attention.  It has been up in my barn for months, till this weekend.

4 deeps for raising brood, and 4 supers for honey storage.... and the frames to go with them. 


Decided to tackle the boxes first.  Wanted to boil them in a combo of wax and rosin instead of painting them, but had to scrape and sand them to get all the remaining paint off so the wax could penetrate the wood.  Ended up mostly sanding them with a palm sander using coarse paper.  One of the boxes was riddled with wax moth gouging.  The larvae will eat into the side of the box and form it's cocoon.  It was a neat pattern.... if you can call an infestation of wax moth "neat".  The box had to be empty, cuz the bees would never have allowed this to happen.


I did this over at BeeBoys restaurant while he was doing the deposits for the week.  Melting the wax with a chunk of rosin.  Kept it at a constant temp of 300 degrees.


Boxes in the brew... with a closeup.


Each side was immersed for 10m and I was able to do a deep and a shallow at one time.  They smelled like pine, and had a smooth feel to them when done.  BeeBoy took a series of pics when i pulled one out and we watched the wax just absorb into the wood.  The boiling draws out the moisture (although these were pretty dry) and as it cools, the wax is sucked into the grain, replacing the moisture.  There are plenty of videos on youtube showing the process.

Notice how a drop of water just beads up.


And the completed pile... very pleased with how they look... but alot of work to do on the frames.


Very antique and folk looking.  Just like me... an antique and folk looking.  :-)

Tuesday, July 10, 2012

Garden Update

All the old stuff is pulled and awaiting the fall crops... starting late July, so it's around the corner.  In this the only thing left is carrots, soy beans, string beans, lima's, onions, and the brussel sprouts.


The eggplants are starting to produce.  Tomatoes are still recovering from my overzealous watering earlier.  Some have flowers, some green tomatoes, and i've eaten some.  Jury is still out on the tomato crop as a whole.


And the burial mound is full of beans in the foreground, zuchini, acorn and butternut squash, a few tomatoes, and cukes.  Bamboo stakes are to get the cukes to go vertical... we'll see how that turns out.


Would like to see more asparagus pop up, have 10 out of 18 so far... but they seem grouped together with large empty spaces in between the 2 groups.  Might replant some next year.

Monday, July 9, 2012

Strawberry Rhubarb Jam

First time ever making and canning jam by myself.  Did it hundreds of times with my mom, but never myself.  Actually, the last few years she did can, I usually did it while she watched.  Last thing we canned was whole plum tomatoes with garlic cloves, oregano, and basil.  Gonna do that again this year... as a tribute to her.  Gone 5 year last week.

Had the berries and the rhubarb in the freezer already measured out according to this recipe.  Used 8 instead of 10 cups of sugar, but used the regular pectin.  They make a reduced sugar pectin, which i'll use next time.  This is the recipe, got it somewhere on the web...

Ingredients
  • 4 1/4 cups diced rhubarb
  • 4 1/4 cups sliced fresh strawberries
  • 2 tablespoons lemon juice
  • 2 (1.75 ounce) packages powdered fruit pectin
  • 1/2 teaspoon butter (optional)
  • 10 cups white sugar
  • 12 half-pint canning jars with lids and rings
Directions
  1. Place rhubarb, strawberries, lemon juice, fruit pectin, and butter into a large kettle over medium heat. (Butter is optional but helps keep jam from getting too foamy). Stir the fruit mixture to help the juice start to form, and add sugar, about 1 cup at a time, stirring constantly until sugar is dissolved and the juice is starting to simmer. Turn up heat to medium-high, bring the mixture to a full rolling boil, and cook and stir for 1 minute. Skim off any foam that forms.
  2. Sterilize the jars and lids in boiling water for at least 5 minutes. With a jelly funnel and a soup ladle, pack the jam into the hot, sterilized jars, filling the jars to within 1/4 inch of the top. Run a knife or a thin spatula around the insides of the jars after they have been filled to remove any air bubbles. Wipe the rims of the jars with a moist paper towel to remove any food residue. Top with lids, and screw on rings.
  3. Place a rack in the bottom of a large stockpot and fill halfway with water. Bring to a boil over high heat, then carefully lower the jars into the pot using a holder. Leave a 2 inch space between the jars. Pour in more boiling water if necessary until the water level is at least 1 inch above the tops of the jars. Bring the water to a full boil, cover the pot, and process for 5 minutes.
Remove the jars from the stockpot and place onto a cloth-covered or wood surface, several inches apart, until cool. To help the jam set, don't move or touch the jars until cooled. Once cool, press the top of each lid with a finger, ensuring that the seal is tight (lid does not move up or down at all). Store in a cool, dark area. 

Started with this... Frozen berries and rhubarb.  I ended up pulling out the rhubarb and put it in a food processer and pulsed it smaller.... next time i won't do that and just let it break down as it cooks.  I took the back of a slotted spoon and mashed the bigger berries that were still whole.  I won't do that either next time.
 
Jam finishing it's rolling boil, lids hot, jars clean and hot off to the right, hot water bath boiling and ready to receive jars.


Here's a closeup of the boil. Beautiful deep red color, but the lens steamed up.  Should have stepped back and taken another.


Half way thru... (no, i didn't use any pepper, it's a constant on my counter)


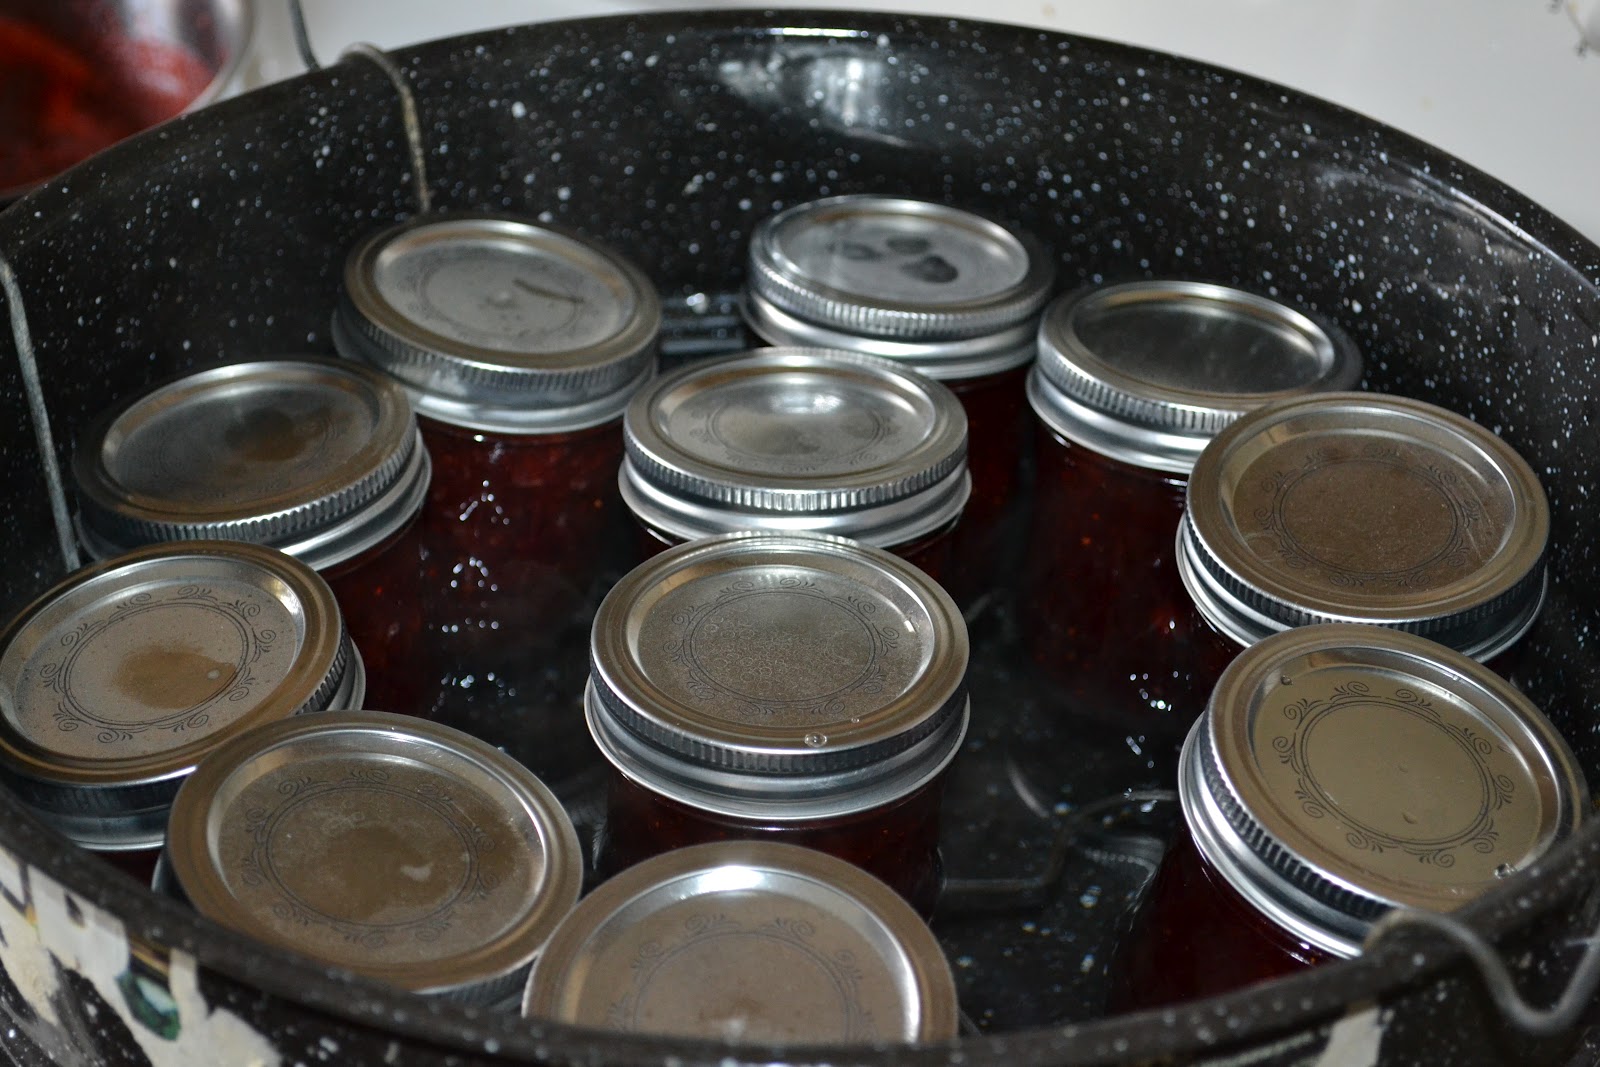
Ready to be lowered in the bath.  Cleaned up while these were processing.  Jam was still a little too sweet, but you can definitely taste the rhubarb.  Good Stuff.


Done, and cooling on the counter.  Pop Pop Pop. as the lids seal.


The neighbor is making homemade ice cream this week.  Gonna try some out on top of that.

Losing weight and getting in shape... over rated <not>

Bumble Bees

I've been noticing alot of bumble bees around the last week or so.  Over the weekend, as many at 5-10 on the cone flowers and butterfly bush at one time.  Yesterday, LG came over and said she saw 4 bees hanging at the entrance of one of the bird houses.

I have a bumble bee nest in one of my previously occupied birdhouses.  How cool is that.  I've never seen a bumble bee nest before.  You can read about it here.

Guarding the entrance.


Others on flowers...


This is a series of pics i took as the bee was circling around the flower, getting every tiny open miniflower, and flying away.  Hope you like.


Hey short one.... it worked!!!

Sunday, July 8, 2012

July 4th.... belated

Did a bunch of stuff on the 4th.  My brother, his girlfriend, her son, and I all met up at the Lititz fireworks at the park.  It was a good time.  Thanks for coming out Bro... Pegster... and Alex.

Prior to...


My "Yes I'm in love with my" tomato cages wish you a Happy 4th of July


As do my multi carrots, Valencia peppers, Fairytale eggplant, 10th out of 18 <over 50% yipee> asparagus, and my going into seed red onions.

Also went over to the farm to check on the bees.  I didn't see any eggs or larvae and was wondering if I had a queen... they swarmed twice... and took these pics.  These are next years flowers... tomorrows stuff today.  Turns out I did have a queen as I saw eggs and larvae a few days later.  That's another post.


The farm is a great place to walk around, and it's open to the public.  They have great gardens also.  Auction Road in Manheim, PA

Sunday, July 1, 2012

Tomato Cages and Pollinators...

Can't believe June is over, and it's been 2 weeks since I've posted.  Time is flying.

Here's what the cages looked like after being primed and mixing it up with some spray paint.  Kudos to LG for the help.  The tomatoes still have not recovered from my over watering.  Some were pulled and others were planted in the bed and the burial mound.  I'm not sure if i have enough time to get a harvest from them, but I'm considering the tomato crop a failure... due to my own over zealous watering.  Lesson learned.
How do you know when you are drowning your tomatoes... the leaves begin to curl and feel like leather.  Happier thoughts.... tomato cages.


A bumblebee hanging out on some flowers in the back yard... one of these days i will have a pollinator garden... but that is another post for another time.